Vintage. Eclectic. Repurposed.

A White and gold Christmas wreath

Well Christmas is getting closer and closer and me being me leave my decorating and shopping to the last moment. It will be summer here in the southern hemisphere, hot and humid, so we'll be having Christmas day at the home of one of my daughters on the Gold Coast. We usually eat outside over a long and leisurely meal and afterwards go for a swim in the pool. So very different to celebrating Christmas in the cold weather as you do in the northern hemisphere.  

Now it's time I started to think about Christmas decorating. I won't be doing anything grand and certainly not expensive. Christmas is costly enough and I want it to be all about being together as a family, sharing lots of love and laughter, not on how things must "look". I love the time we spend together making new memories and traditions, they can never be replaced.   

I wanted to make my Christmas decor from what I already have instead of buying more. It's sad that so many people go into debt for Christmas and have to pay it off during the following year, which  takes the joy out of Christmas giving and places unnecessary stress on families. I don't want to put myself or any of my loved ones into that position. Looking through my supplies I decided to make a white and gold Christmas wreath for my front door . I wanted to put a bit of glitz and  glamour into it and I thought white and gold perfect for this. Simple but stylish.

These are the materials needed for this project:

.  Styrofoam wreath ring
. White ribbon
. Ribbon to hang wreath
.  Pearls
. White and gold twine
.  Glue
. Large gold key or similar


The first step is to start winding the ribbon around the wreath


I put a dob of glue onto the start of the ribbon and stuck it to the wreath to make it easier to wind around it and put another dob of glue at the very end. Once I'd finished winding all the ribbon around the wreath I started to wind the white and gold twine around it.
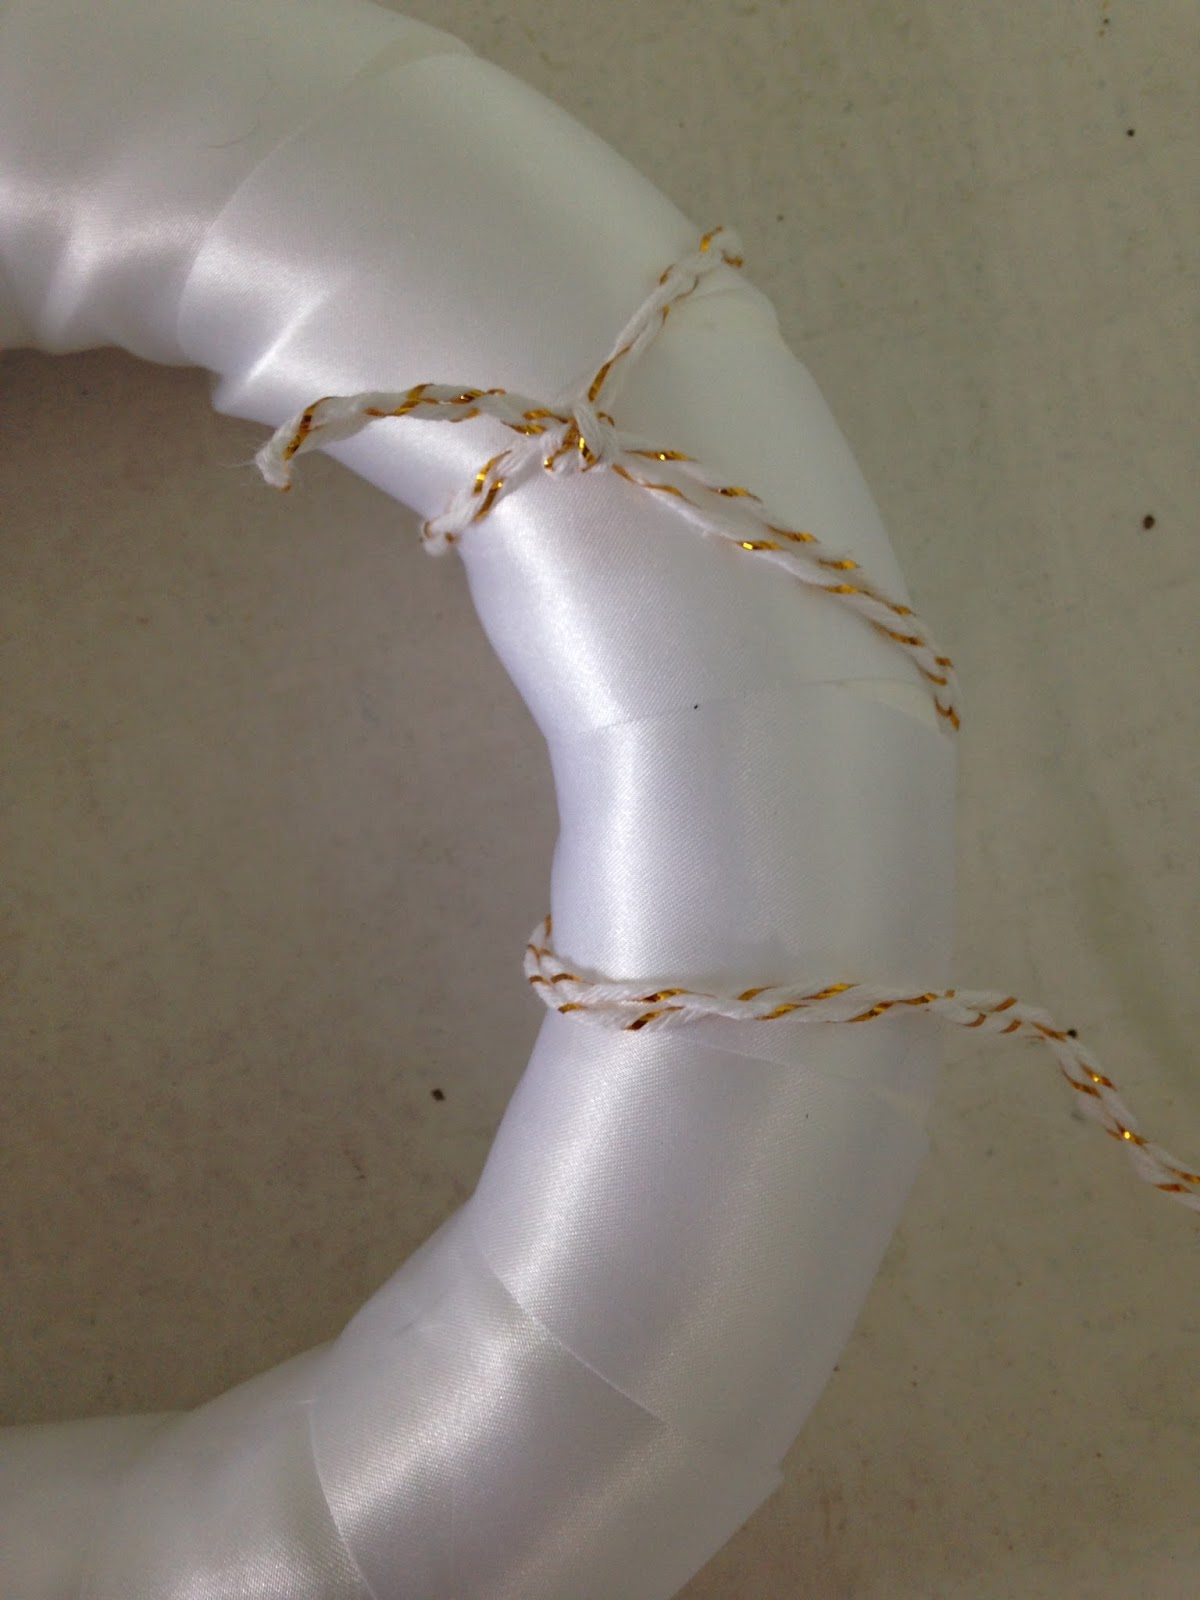


Once that was finished I applied the pearls with glue. I used a cement glue but a hot glue gun could also be used. As long it holds the pearls on. I placed them on randomly but you could put them all over and add more if you prefer. Next I tied the big gold key on with the white and gold twine. Lastly I tied a piece of cream coloured ribbon around the top of the wreath so I could hang it on my front door or as you see in the picture on the wall as part of a gallery.


There are so many ways you could make this, only limited by your imagination. I hope it's given you a bit of inspiration to try and make your own decorations, and get the kids or grandkids to join in. It's always so much fun and they love to say they helped make it! Let me know in the comments what you think. I love getting feedback and enjoy hearing from you


How to make a Wreath from a Rattan Basket

It's been a little while since I have posted here because it's  been raining for nearly two weeks in my small part of the world. I can hear you saying well what does that have to do with anything! Well I've suffered with depression and anxiety at times throughout my life. I have something called SADS which is seasonal affective disorder syndrome. It basically means that when winter comes with the shorter days and less light I tend to become lethargic or depressed. It's associated with the level of melatonin in my body, but I'll leave that for another post where I'll tell you about my journey with Chronic Fatigue Syndrome/Fibromyalgia and depression and anxiety. It's not easy to talk about myself personally but if it helps others on the same journey I will do so. Sharing always makes the load lighter. So let's begin.

I'm going to show you a wreath I made using a rattan cane basket that I bought for $2 at my local second hand shop. I love that place! And I love finding new uses for decor items as well.

These are the supplies I used for this project:

. Faux flowers

. Wire cutters

. Rattan basket


That's all! No long list of supplies to search for!


Here is the basket I started with:


Firstly I detatched the flowers from the bunch


I started to use tin cutters to cut through the stems but then found it easier to use pliers that I use in making jewellery. I found that these worked better.


These are more flowers that I snipped. As you can see these are the pliers I used to cut the stems.

Now comes the fun part! Attaching the flowers to the basket. Because of the weave of the basket I was able to stick the flowers through the gaps.


It was very fiddly but eventually I was able to attach all the flowers
to the basket. Some of the stem wire was sticking out at the back so I went round and carefully cut the excess wire and voila! Done!

Here in Australia we don't normally decorate for autumn with pumpkins so I found this gorgeous  ceramic one at a second hand (thrift) store for a few dollars. An ode to my American bloggers!   


Isn't it cute? I have so much blue in my home and this little guy fits in perfectly!
I've previously done a post on a wreath using autumn leaves and you can find it here.

I hope you like my version of an autumn wreath, I'd love to hear your comments, feedback is good. Have a great weekend friends.   

Fall Decorations, Three easy projects

I've been looking at Pinterest and Instagram and seeing all the beautiful fall decorations. The thing is where I live it is spring! I haven't seen any spring decor only autumn or fall as some call it.
I decided to join the throng and make my own fall decor. I suppose the way the weather has been worldwide, heat waves in autumn, hot winters in Oz, floods and fires, anything goes!

I don't have any pumpkins, real or fake, we don't decorate for our seasons as much as our northern counterparts, so I'm using colourful autumn leaves to decorate. I must admit I love the velvet pumpkins. I went to a fabric shop to buy some velvet for another project and because of our hot climate they don't stock velvet! I was not impressed to say the least! I will probably order some online.

I have three quick and easy fall decorations to share that I made using these leaves. These are the supplies you will need to make them:


Finished wreath


               For Wreath

A Packet of fall leaves from the $2 shop
Hessian (burlap) roll
Twine
Hot glue gun or similar
Scissors  


               For Branches with fall leaves

Branches. I got mine from a tree in my backyard
Leaves (as above)
Glue or hot glue gun 

               For Welcome Sign

A piece of scrap wood
Leaves (as above)
Glue
Stenciled or stick on letters
Roll of hessian ribbon or wire
White homemade chalk paint


For the wreath I started with an old plastic covered wire coat hanger bent to the shape that I wanted. I used the hessian roll to wind around the coat hanger


Plastic covered wire coat hanger

Starting to roll hessian (burlap) onto hanger
I had already made a garland with twine and I glued the leaves onto the twine as shown 


Leaf garland
I then wrapped this garland around the wreath but you can simply glue the leaves straight onto the hessian wrapped coat hanger. 

As you can see above these are the branches I cut from a tree in my backyard and using the same leaves I glued them onto the branch where I wanted them.


Branches with glued on leaves

 The welcome sign was made using a scrap piece of wood to which I gave a very light coat of white chalk paint. I then wrapped a 2" piece of hessian (burlap) around one end and glued the leaves to it. I had a piece of ribbon left over from another project and I simply nailed it onto the back of the timber. I nailed it a part of the way through and bent the last bit of the nail over with the hammer. I did this because I didn't want it to come all the way through the piece of wood and hammered it over so it wouldn't stick out.


Welcome sign


Sorry this picture is sideways and I know a few of the letters are wonky but I quite like it like that.

I hope you enjoyed the fall decorations, I had fun doing them and they were really easy to do. If you make any I would love to see them. Have a great day  
Blogger Template Created by pipdig